Hreflang can be tricky to implement, but if your company is pursuing a digital international strategy it is essential to do it right. While Google Search Console will show you all of your existing hreflang errors if you’ve already implemented them, it is much better to ensure all your tags are working before pushing them live. This blog post will show you how you can test your on-page implementation beforehand, rather than just putting out fires later on.
Note that this blog post will assume you already know what hreflang is and how to implement it. If you are unfamiliar with hreflang, check out my guide on Wpromote University!
To test hreflang implementation directly on your page, we are going to use the custom extraction feature on Screaming Frog. If you haven’t downloaded SF yet, here is the link.
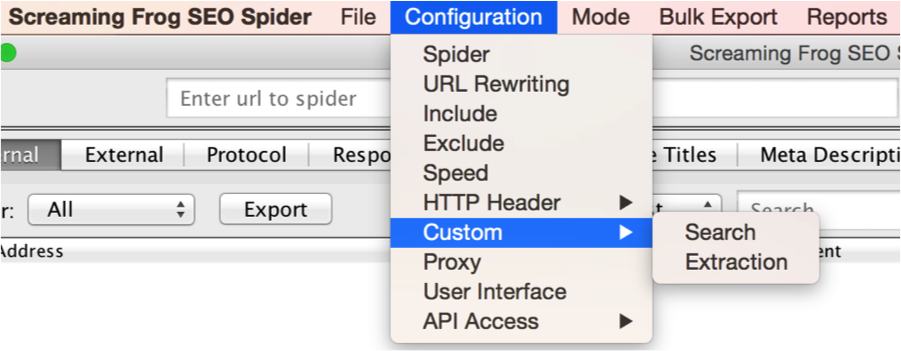
Once you’re ready with SF, go to the custom extraction field.

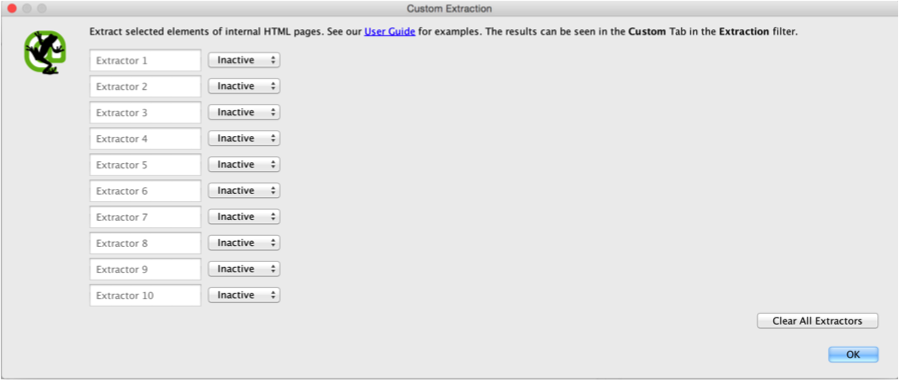
Now what we need to do is fill out these fields to extract hreflang tags on all of our pages. Right now, nothing is filled out.

Your first step is to change the ‘Inactive’ field to ‘XPath’. We do this because we will be extracting the hreflang tags via XPath. For those unfamiliar with XPath, is it is defined by W3Schools as “syntax for defining parts of an XML document. XPath uses path expressions to navigate in XML documents.”
Second, name your Extractor; I just go with ‘hreflang 1’, ‘hreflang 2’, etc. If you know the order of your language tags, you could name the Extractor as the Language, but I recommend keeping things simple in case the tags aren’t in the same order on each page, as the crawl will extract the tags in the order they appear. You will need to know how many languages your pages are in. If it’s 4 languages, you will need to extract 4 elements. If it’s 7 languages, it’s 7 elements. You can go up to 10, which should be more than enough for most websites.
Third, you need to select what kind of element you want to extract. For our purposes you should choose “Extract HTML Element.” When you’re done with these 3 steps, it should look like this:

Now it is time to actually enter in the XPath. Thankfully, this is pretty simple. The XPath is as follows:
(//*[@hreflang])[1]
For each additional hreflang tag you are extracting, just change the hreflang number. So in our example, this is what the completed field would be:

This setup will extract the entire HTML element, meaning the whole tag and not just the country and language code. If all you want are the codes, you just need to slightly tweak the XPath.
(//*[@hreflang])[1]/@hreflang

You will also need to change “Extract HTML Element” to “Extract Inner HTML.”
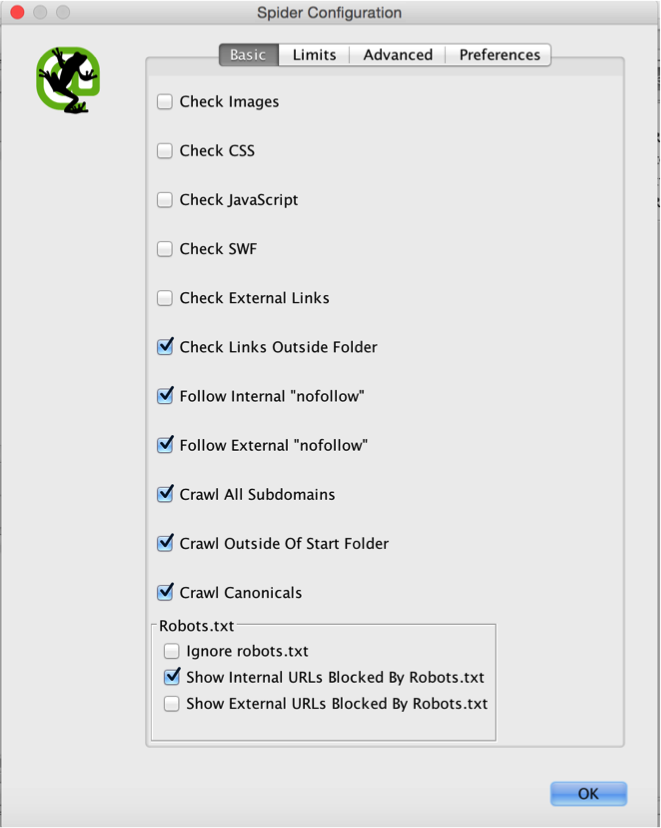
You should also take this opportunity to crawl your canonical tags. Having your canonical tags match your hreflang URLs is a critical piece to this puzzle. To crawl canonicals go to ‘Configuration-Spider’ and then check the box that says ‘Crawl Canonicals.’

From here you should be good to go! Run the crawl and you will be able to see the hreflang tags that are found on each URL that is crawled. Make sure to double check that your site’s robots.txt isn’t blocking Screaming Frog.

Next, go to ‘Custom’ in the top menu, change the Filter to “Extraction”, and you will be able to see all URLs and the associated hreflang tags on them. From there you can also export the crawl onto an Excel document. Now you can easily check your tags on each page to make sure everything is implemented properly.


Responses